
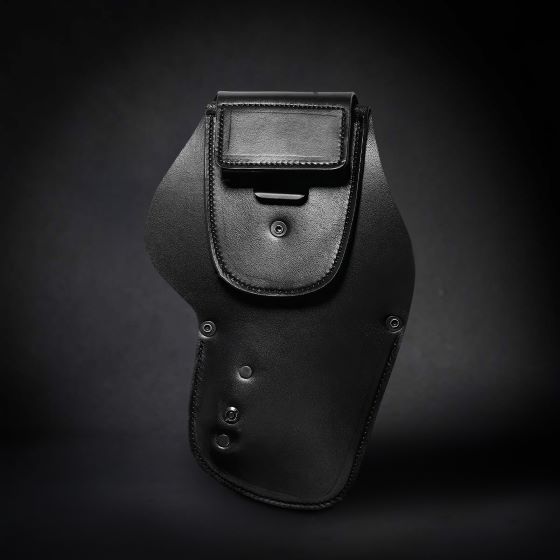
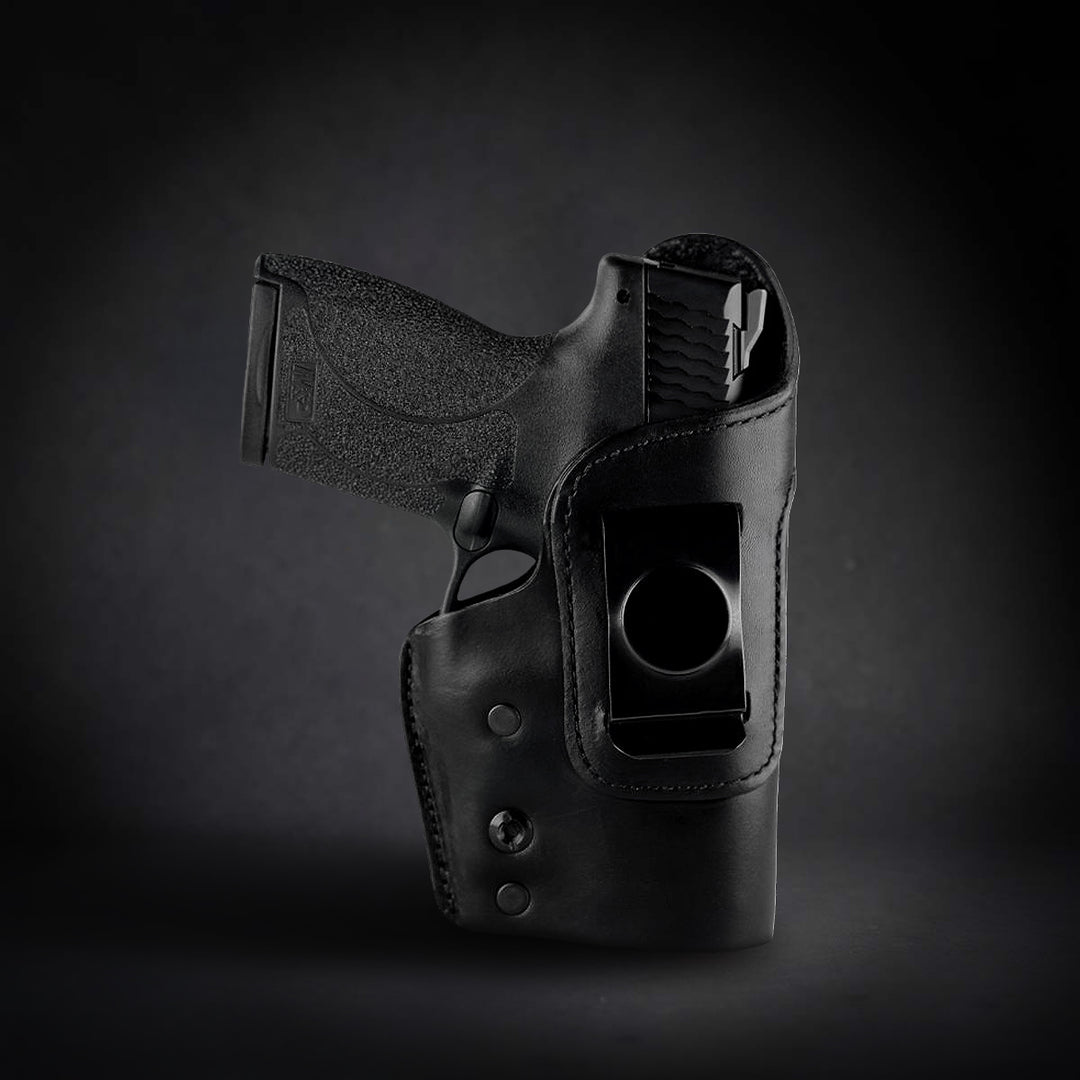
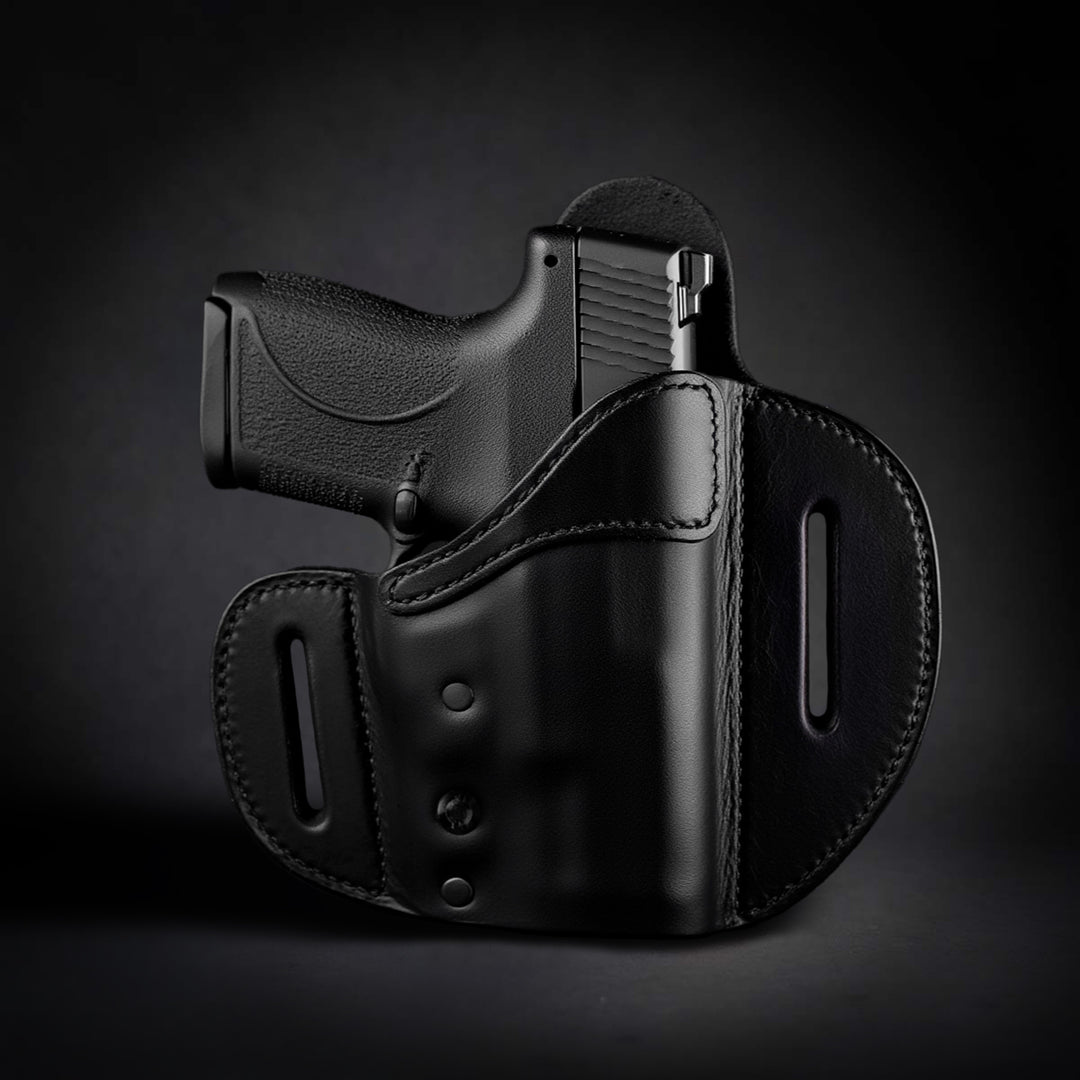
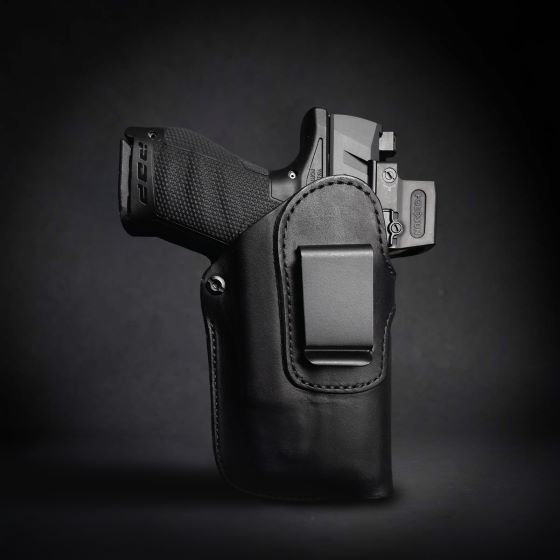
Kimber Solo [HD] Cleaning & Features
In this video, we're going to show you how to field strip and properly clean the Kimber Solo, and then go over some features about the firearm. Kimber developed this single stack 9mm "pocket pistol" after seeing the success of many other firearms manufacturers in the subcompact pistol market.
This gun has great aesthetics and is extremely concealable. However, the Kimber Solo does require a bit of special care. Kimber recommends replacing the recoil spring every 1,000 rounds, something we found to be unusual.
Kimber also designed this pistol to strictly use 124-grain ammo; anything else will not function as well. There's also a "Crimson Trace" version of this pistol, with a laser grip built in. It does come standard with 3-dot, but if you're going to use this as your EDC gun, then look into night sights.
Subscribe to our channel on YouTube and follow us on Facebook, Instagram and Twitter for more great videos like this one!
Want to see more cleaning videos? Check these out!
Colt Defender | Kahr P40 | Sig SP2022 | Taurus PT-111 | S&W Bodyguard .380
Here's a full transcript of the video if you'd prefer to read about the Kimber SOLO Carry and how to clean this concealed carry pistol:
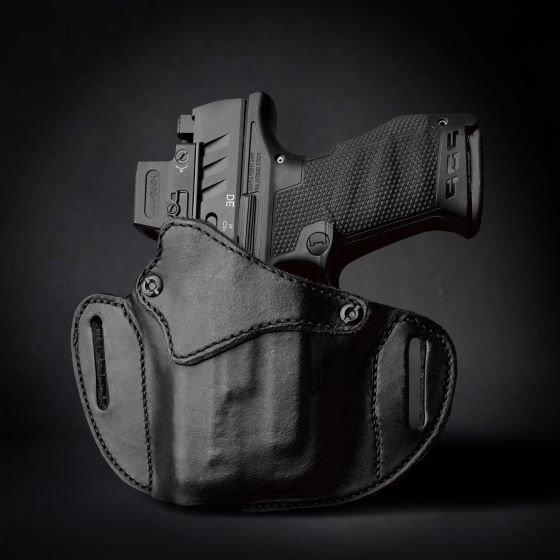
We’re going to be doing a full field strip and cleaning of the Kimber Solo Carry 9mm. The Solo Carry was Kimbers answer to the pocket pistol in nine millimeter and they did a great job of designing it. The Solo is an all-metal firearm so you have a stainless steel slide and barrel and then an alloy frame. There’s no polymer on this firearm.
There are a couple of interesting notes about the gun though. Kimber designed the firearm to work exclusively with 124 grain ammunition and they also recommend replacing the recoil spring after about a thousand rounds. We’ll get into some more details later, but now let’s get into the cleaning portion of the video.
Of course what we want to do first is make sure that the gun is clear and safe before we’re taking it apart; you don’t want to have any kind of misfires or a negligent discharge. You want to eject the magazine, no rounds in the magazine. Then open up that slide and there are no rounds in the gun itself.
So with the Kimber solo it’s similar to a 1911 style pistol. It does not have any kind of bushing. Your slide catch is the takedown pin. So what you need to do, there’s a little groove right behind where the slide catch mark is. It’s very slight but you’re going to try and bring that in line with the back of your slide catch. That way there’s a little nub in here that needs to push through that.
Now when you’re pushing through you just push on this pin from the other side. Line the retention pin what up with the back of the slide catch so you can push and then pull it right out. After that you will have to depress the trigger in order to take the slide off, so point the firearm in a safe direction. You press that trigger and the slide and frame will come apart.
Then you’re going to take out your recoil spring. It is compounded so you don’t really have to worry about it flying anywhere. Then lift up from the ejection port of your gun to bring the barrel out, removing it at a slight angle. What were going to do first is to take some gun-cleaning agent, I’m using Hoppes Elite, and we’re going to coat the barrel.
How I do this is you could use one of these leads and a cotton swab but what I’m going to do is use my wire brush, it just makes it a lot simpler. I don’t have to have two cleaning rods in order to do it, but all you do is you take your cleaning swab and you wrap the wire bore brush in it. Now this Hoppes Elite is a gun cleaner and the reason why we want to put this in the barrel beforehand is because you want it to sit in there.
The gun cleaner will start breaking down any of that powder fouling and any of that copper that’s in there, and you don’t need to use very much. I’m going to go through the bore side of the barrel, not the muzzle. This type of gun that is not really made for long-distance accuracy, but you still want to try and keep that accuracy up and if you were to use a metal cleaning rod you don’t want to nick that crown. Again, it’ll just hurt your accuracy in the long run.
So go ahead and just give that barrel a nice little coat of that gun cleaner. You also want to make sure you clean the feed ramp at the back of the barrel. If you don’t do this it’ll gunk up and of course your rounds will not seat properly. Now the barrel is done so I’m going to let that sit.
Next thing we are going to do is work on the slide. Again we are going to use that Hoppes Elite because of a lot of powder residue, brass and everything will blow back into your firearm. Make sure you clean those areas of high friction like your slide grooves and even where the barrel meets the slide and then also your bolt face. This is another area where a lot of that powder and a lot of that brass and copper will start adhering to your gun.
What I use is just a nylon brush and that’s really all you need for this part. You could even use an old toothbrush they work just the same. Just going to put a little bit of that Hoppes on the gun and clean around there and just address these slides. I’ll clean these slide grooves and get a little bit underneath the bolt and then I’m also going to get my bolt face.
I’m going to turn the gun upside down that way none of the solution gets inside the striker fire system. Make sure you clean your extractor, or you’re going to have your cartridges not ejecting properly. Also this firearm has an interesting style barrel. There’s theses little grooves that match up inside the slide. This will be another good area to just kind of go over, on the barrel and also in the slide itself, then we’re going to let that sit.
Scrub your recoil spring as well, getting the gun cleaner on it as well. This is another place where powder buildup will happen, so we’re just going to coat that spring a little bit. Now we’ll move on to the frame, and it’s the same thing I do with the barrel and the slide. You’re going to use a little bit of gun cleaner and hit these slide rails as well as certain metal pieces inside the frame.
Some people use oil but that’s not always the best decision to use a bunch of oil on your gun. Oil will attract more powder and a lot of dirt and it’ll end up making it so you have to clean your firearm more often. That’s why we just use a little bit of gun cleaner and towards the end what we’ll do is we’ll add a slight bit of oil just for lubricity.
I try to mention this in a lot of videos not only do you need to clean your gun but you also need to clean your magazine. Of course this is where your rounds are and these are in close proximity to where the explosion happens in your gun. A lot of that powder could come back down into your magazine, so it is important to try and always clean these.
This is very simple, it has a little pin on the baseplate you just need to punch in and then move the bottom of the magazine toward the front of the magazine. Now keep your thumb over it just in case your spring wants to shoot out. What I’m going to do is clean out the inside of my magazine and I will use this other cleaning rod just for the heck of it.
I mean you can use a brush again, you can use q-tips; there’s also longer q-tips that you can get that will also help clean it. Just a little bit of that cleaning agent, go ahead and wipe down the inside of your magazine. The inside of the magazine was very dirty, and this is why you do want to clean it regularly.
Now we’re going to put this thing back together. We’re just going to go in the same order of how we took it out. On these magazines there is a little lip, so when you put your spring in you don’t really have to hold it down. Take that little pad, starting the same way as you took it out, then the bottom of the magazine.
Then press down a little bit on that pad so you can get inside those grooves. Make sure that it clicks right back into place. Your magazine is now done. From how much dirt came out of there and different powder fouling it is important to do that.
We’ve had that cleaning agent sitting on the barrel, the slide and frame, so now we’re going to wipe that excess off. A lot of that powder should be ready to be taken off; it’s been eating away at that powder so we’re just going to swab this out a couple of times. Again I’m going in through the bore side and not the muzzle.
You don’t need to do this too many times, especially if you clean your firearm often. If you do not clean your firearm often then you do want to take these steps for cleaning your barrel and cleaning your slide because a lot of that powder could be really caked on there and you’ll need to be able to get it off.
You don’t want to damage your guns so it’s just good to do it in small sessions. Go ahead and wipe that barrel down and there’s all that crud that was inside the barrel, now on the wipe. From what I can see the barrel is looking quite clean now. So now that we’ve wiped off the barrel we’re going to wipe off the excess on our slide. You can use another cleaning pad or an old rag if you wanted to, or q-tips.
I’m going to us these q-tips because my fingers won’t be able to fit inside this gun. Address those slide grooves on the slide where I mentioned where the barrel recesses in, and all that junk is getting lifted off of there. Also go over the bolt face, which we cleaned earlier, and try to get behind that extractor. Now your slide is good to go.
I will use one of these little swab pads to just wipe off the excess from the recoil spring and as well from the frame. I can actually get a finger in here. Just go over everywhere that I get attention to slide rails and your gun is now clean, well at least relatively.
I’m continually lifting some of that excess powder and unspent powder out of this gun. But it is now relatively clean so this is where I would use a little bit of oil. I don’t use a lot, it’s really not necessary and again will attract more dirt and powder. So I just use a little spray and coat all the metal pieces to protect the firearm inside those slide rails.
This will add a little bit of lubricity and protect the firearm a little bit. Any point of friction like where the barrel meets the slide grooves, just give it a nice little coating including the frame and your gun is now clean and ready to be put back together.
What we’re going to do is just go in reverse and insert my barrel at an angle. You want to push it back and make sure it’s recessed properly. Go ahead and put your recoil spring back, inserting it below the barrel where it has the space and push in, letting it sit right on that barrel lug.
Next you just need to put your slide and frame back together so find those side rails and find those grooves. Make sure that it goes on straight and proper. This is where it’s going to be a little bit difficult so just bring your slide back to that little notch. Insert your takedown pin and then let your slide go forward.
Now your gun is properly cleaned and ready for you to carry or take back out to the range, and we’re going to go into some additional details about the Kimber Solo Carry. Starting up top with the sights, you’ve got standard three dot sights here but they are rounded off so they’re sleek and they’re not going to get caught up on anything like your clothing or a holster.
Moving into the slide, you’ve got a rounded slide and its very smooth in its action. The slide serrations here aren’t very aggressive but you can still get a pretty good pull on it. The barrel is a bell shaped barrel and you can see that’s an interesting shaped barrel there. Moving down into the frame, you’ve also got a metal frame here as well. It’s not made from stainless steel but aluminum alloy.
You also have an ambidextrous magazine release and an ambidextrous thumb safety on the firearm as well. This makes it great for right or left-handed shooters and you can see here the trigger guard is large enough to get a gloved finger into. You’ve got plenty of room there.
The trigger on the Solo Carry is very smooth as are most Kimber firearms. It’s a great trigger system although the reset is pretty subtle. The magazine is a single stack 9-millimeter magazine with a six round capacity plus one in the chamber.
This is a fantastic firearm for concealed carry especially if you don’t mind shooting exclusively 124-grain ammunition. If you found it helpful or think a friend would find it helpful, share it with them on social media. That’s it for today, until next time, keep calm and return fire.
Subscribe to our channel on YouTube and follow us on Facebook, Instagram and Twitter for more great videos like this one!

Richard Calvette
Firearms Expert, Urban Carry Holsters
I've been with Urban Carry Holsters since 2020, proudly serving as the Firearms Expert. Before that, I served 8 years in the United States Marine Corps, including a deployment to Iraq from 2009 to 2010. During my time in the Infantry as a Sergeant, I developed a deep interest in the wide range of firearms we used. It fascinated me to learn why specific weapons were chosen for different missions and roles.Breaking into the firearms industry wasn't easy, but persistence paid off. While attending a trade show, I discovered the Sonoran Desert Institute. That opportunity led me to earn an Associate of Science in Firearms Technology, along with certifications as a Pistol Expert and Range Safety Officer.My passion for firearms continues to grow every day. I'm always learning, always improving, and always striving to bring that knowledge and experience to the work we do here at Urban Carry.


